The receiver is one of the best devices that you can use if you want to have a home theatre like experience at your home. The best thing about the receivers is their ability to provide outstanding digital surround sound and analogue sounds.
Receivers allow you to connect your external audio sources to your television. Since they come with five amplification channels, you are more likely to get outstanding sound quality that can rejuvenate the entire experience of watching your favourite movies for playing your action games.
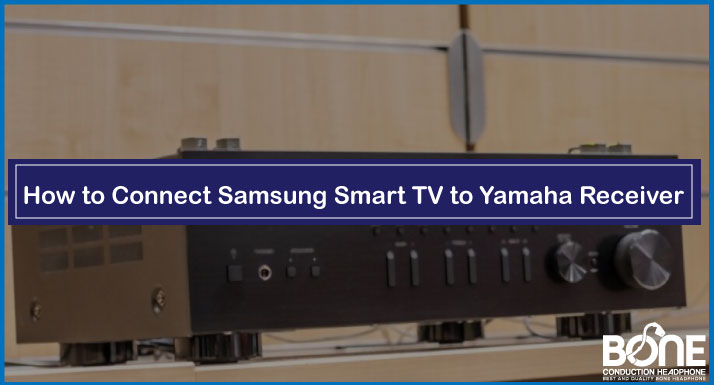
Below in this article, we will focus majorly on the Yamaha receivers, and we’ll tell you how you can connect a Samsung Smart TV to a Yamaha receiver.
Steps to Connect Samsung Smart TV to Yamaha Receiver?
Once you have connected your Samsung smart TV with the Yamaha receiver properly, you will hardly face any problems, but for that, you have to make sure that you follow all the steps carefully to avoid any problem.
Yamaha receivers provide top-notch sound and video quality to the users, making them one of the most popular receivers in the market. The steps are incredibly effortless, and once you connect your Samsung Smart TV to a Yamaha receiver, you can enjoy outstanding streaming quality with an 8k resolution.
What Do You Need For This Process?
To connect your Samsung Smart TV to the Yamaha receiver, all you require is HDMI-ARC. Samsung Smart TV nowadays comes with various features and HDMI ports, and one of them is HDMI-ARC.
ARC, which means the audio return channel will send the sound signals to your Yamaha receiver from your Samsung Smart TV and then the receiver will play the sound further.
To activate HDMI-ARC on a Yamaha receiver, you have to activate the HDMI-CEC option. You won’t find the setting on your Samsung Smart TV because HDMI-CEC is denoted as Anynet+ on the device. So basically, you have to activate the Anynet+ feature on your Smart TV.
How to Activate Anynet+ Feature on Your Samsung Smart TV?
- Go to the settings with the help of your Samsung remote TV; then, in the settings menu, you have to select “General Menu“.
- In the general menu, you will find “External Device Manager“.
- Click on this option, after which you will see “Anynet+” in the list that will appear in front of you.
- Please select the option and turn it on.
Once you have activated the Anynet+ feature on your Samsung Smart TV, let’s look at the steps to connect your Samsung smart TV to the Yamaha receiver.
Step 1: Look for HDMI-ARC Port
Firstly you have to look for the HDMI-ARC connectivity port on your Samsung Smart TV. You can find this port on the backside of the television, and it might be labelled as ARC itself.
Step 2: Switch Off Devices to Avoid Shock
Now switch off both your Samsung Smart TV and Yamaha receiver while connecting the cables.
Step 3: Connect the Devices With the Cable
In the third step, you have to take the HDMI cable and connect it with the HTML port of both the Yamaha receiver and your Samsung Smart TV.
Step 4: Turn on the Devices
Once you have plugged the HDMI cable properly, turn on both the devices and now you have successfully connected your Samsung Smart TV to Yamaha receiver.
What if Your Yamaha Receiver Doesn’t Have ARC Output?
If you have an older version of the Yamaha receiver, then there is a possibility that it might not have an RCA output. In that case, you can either try the RCA method or the Bluetooth method. In the RCA method, all you have to do is to connect the stereo outputs of your Samsung Smart TV with your Yamaha receiver.
You must make sure that both the Yamaha receiver and your Samsung Smart TV are compatible with the Bluetooth feature for the Bluetooth method. If both are Bluetooth compatible, you can conveniently connect your Samsung Smart TV to the Yamaha receiver with this option.
Summing it Up
So these were the simple steps to connect a Samsung smart TV to a Yamaha receiver. You must know what to do when you have connected your receiver with other devices as well, and you don’t want to change the setting.
In this scenario, you have to make sure that you keep your receiver switched on all the time so that the settings made in your Samsung Smart TV and other devices remain the same or else it can be highly problematic.


